Montessori Sandpaper Letters: What are they and where can I get them?
This article may contain affiliate / compensated links. For full information, please see our disclaimer here.
Montessori sandpaper letters are traditionally wooden cards with tactile alphabets which allow children to physically trace the shape of each letter as they say its sound. In this post, you will find everything you need to know about sandpaper letters - what they are, when to introduce them, how to present them and where you can get them from.
Sandpaper letters
What are Montessori sandpaper Letters?
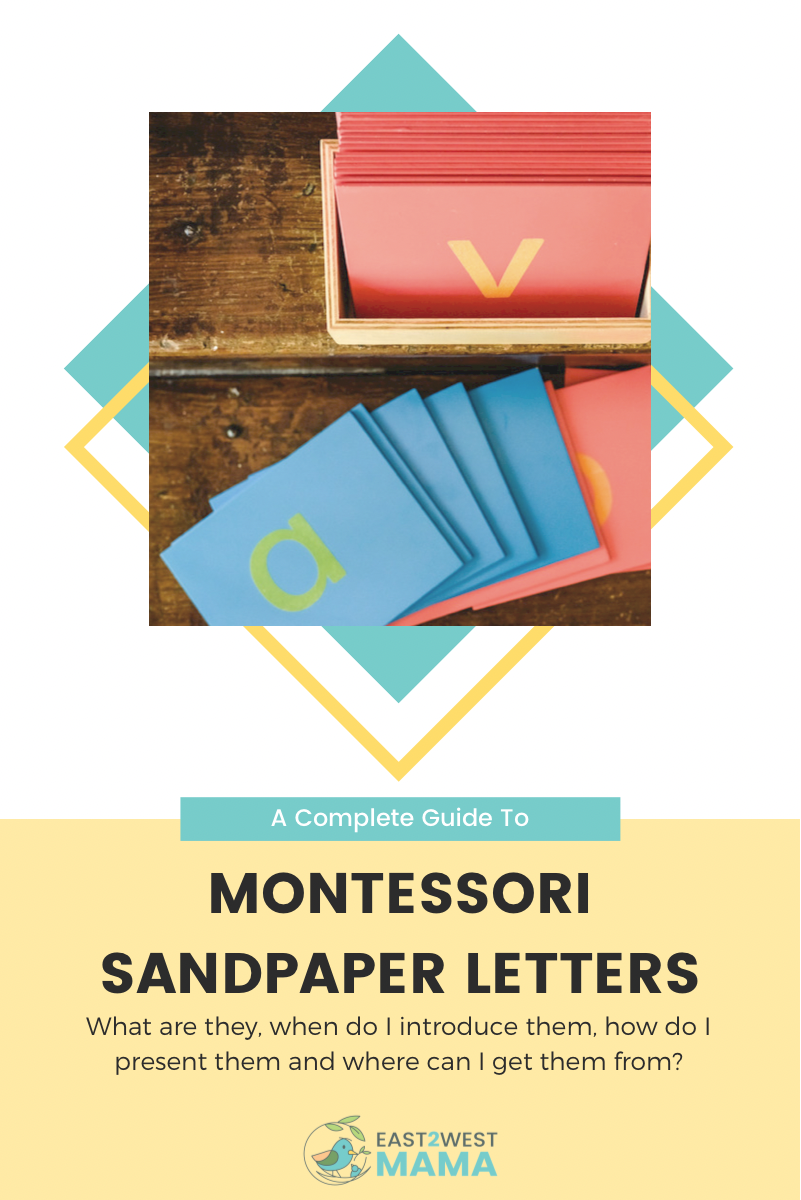
The sandpaper letters are one of Maria Montessori's most brilliant materials and are a key material used in the Montessori language curriculum. They are traditionally wooden cards with tactile sandpaper letters on them. The consonants are on pink cards while the vowels are on blue cards. Tracing the sandpaper letter while saying its sound gives children rich visual, auditory and tactile input, which helps children to internalise the letter symbols without the need for memorisation.
When should I introduce them?
Your child should be confidently playing levels 2 and 3 of the pre-reading sound games before being introduced to the sandpaper letters. Many of us parents are very eager to introduce our children to letter symbols but a thorough understanding of sounds and phonemic awareness must come first. Be patient and follow your child’s lead.
In addition to phonemic awareness, your child also needs good hand/eye coordination to trace the letters (and to write later on). Offer plenty of opportunities to strengthen finger muscles with activities like peeling stickers, painting, play dough, chalkboards, lacing and pin punching.
How to present the sandpaper letters?
Montessori sandpaper letters should be presented to your child a few at a time (maximum three) to start with.
There are some minor variations, but this the general order in which they are presented:
Group 1: c, m, a, t
Group 2: s, r, i, p
Group 3: b, f, o, g
Group 4: h, j, u, l
Group 5: d, w, e, n
Group 6: k, q, v, x, y, z
Use the three-period lesson to present the sandpaper letters.
Show one letter and say “This is ‘m’ “ while demonstrating how to trace the letter with your index and middle fingers.
Let your child have a turn at tracing the letter while saying its sound.
Repeat steps 1 and 2 for the next two letters being presented.
Ask your child to show you the letters one at a time, “Can you show me ‘m’ ‘, then repeat with ‘c’ and ‘a’, for example.
Point to each letter in turn and ask your child “What is this?”
If you notice at any stage that your child seems unsure, then simply go back to the previous steps without indicating to your child that they have failed.
When presenting new letters, always go over the ones your child knows already. This helps to build their confidence and get them excited to learn the new ones.
Cursive or Print?
Montessori sandpaper letters are available in both cursive and print. It has been deliberated for years whether children should be introduced to cursive letters first or print letters. In the past, learning to write in cursive was considered a necessary skill, but now in this age of technology, it is arguable that cursive isn’t useful at all.
One of the biggest arguments for starting with cursive is that tracing or writing cursive letters all starts from the same starting point, the lower left-hand corner. This can be very helpful for young children just learning to write.
In our home, we introduced Ryaan to print letters since we were lent a set of print letters by a friend.
Where can I get Montessori sandpaper letters from?
In the UK, the best-known supplier of quality Montessori materials is Absorbent Minds Montessori. We personally buy lots of our material from their website and have always been highly satisfied.
Montessori Design by Nuccia also stocks sandpapers letters.
You can get sandpaper letters from Etsy: WoodenToysForYou; Affordmontessori
If you don’t want to spend that much, sandpaper letters are relatively easy to DIY. Here are some tutorials: puffy paint tactile letters; touch and feel letters using pipe cleaners.
In our case, my son attends school but I supplement his learning at home. If we hadn’t been lent the set of sandpaper letters, I would either DIY them or use this book from Amazon.
It isn’t the same thing as sandpaper letters since you can’t really separate each card depending on the presentation. However, it is affordable, readily available and provides good tactile feedback to achieve a very similar outcome in the child’s mind.
We have used Number Work and Shape Work from this series too. I find that Ryaan loved to go over the letters he had learnt on his own during quiet time, and these books were perfect for him.